

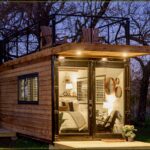
Building a tiny house requires careful planning, the right choice of materials, and patience. Follow the steps below to build your tiny dream home.
Step 1:Planning and Design
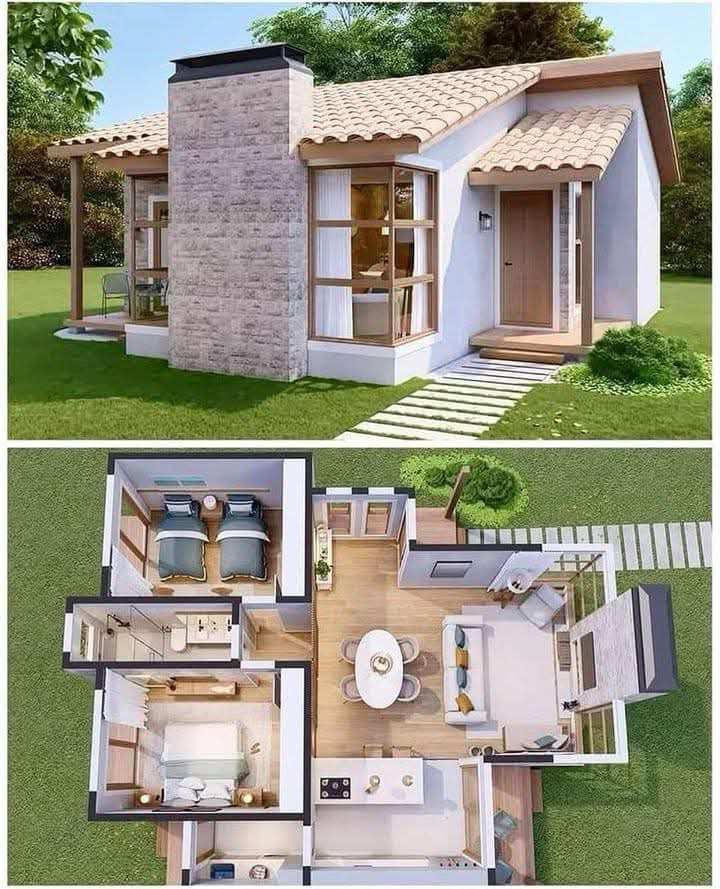
The first decision has to be made about house plans. Within consideration are size, layout, and design of the tiny house. Is it to be on wheels or stationary? How many rooms; where will the storage solutions go? Have a greatly detailed floor plan, and do some research on zoning laws and building codes within the area to know what you can actually build.

Step 2:Trailer or Foundation
For a small house on wheels, choose a firm trailer that will take the weight of the tiny structure. If the tiny house is ideally a stationary one, impart the foundation of possibly concrete slabs or piers that would provide stability to support it.
Step 3:Collecting Materials and Tools
Making a list of essential materials is imperative. These materials may include, i.e.
Lumber for framing
Plywood for walls and flooring
Insulation materials
Roofing materials-metal or shingles
Doors and windows
Plumbing and electrical supplies.
Collect tools as above-mentioned-and in addition, a saw, hammer, drill, measuring tape, and safety tools.
Step 4:Build the Frame
Begin with the floor frame and secure it onto either a trailer or foundation. Wall frames are thereafter created and stood up. At this stage of construction, ensure that the framing of whichever it is, ramp or foundation, is level and securely braced.
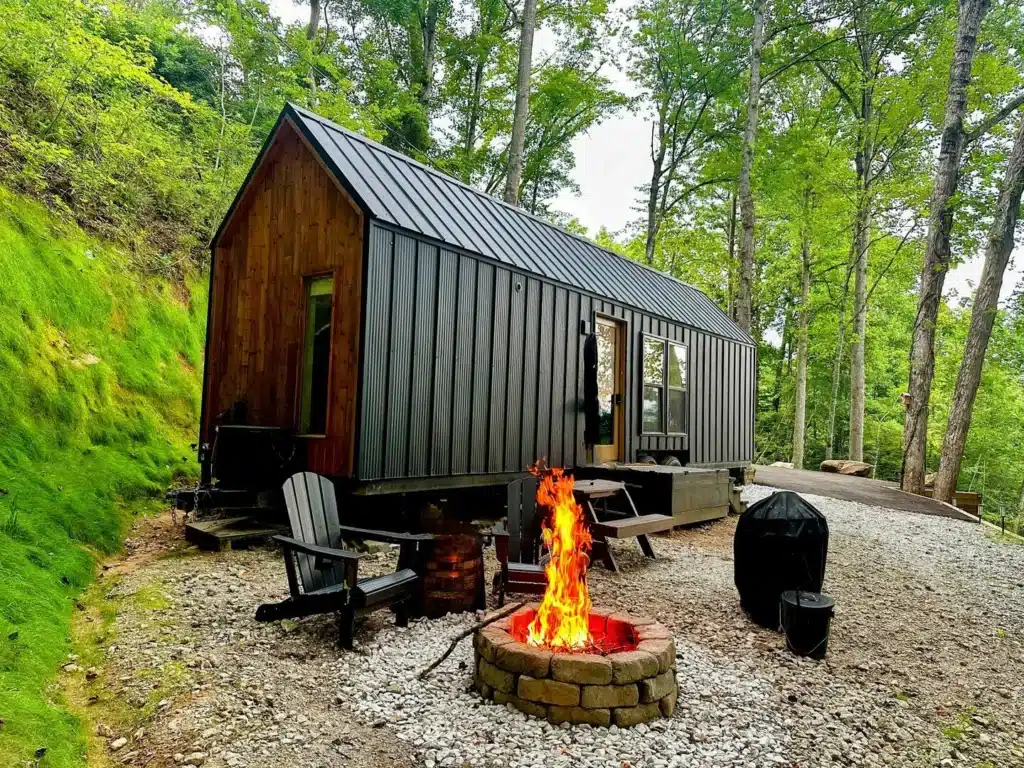
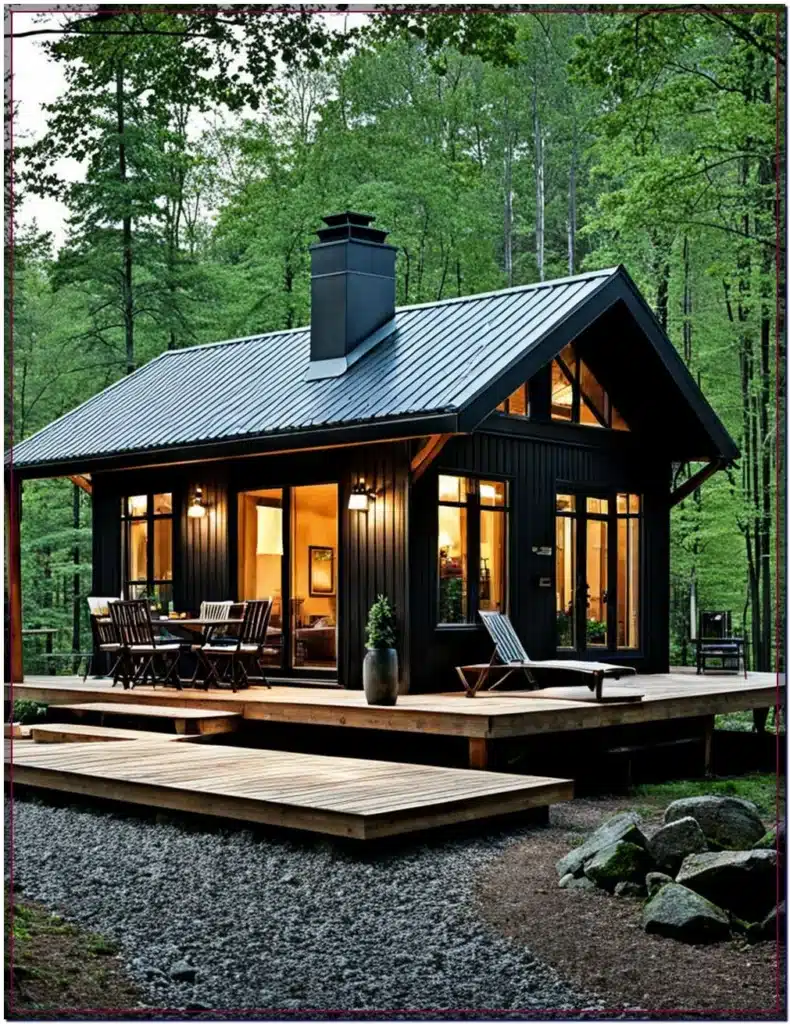
Step 5:Roof and Wall Installation
Roof trusses are fixed to the frame and covered with plywood sheathing, standard practice in roof setting considerations. Roof covering is provided with a weather-tight seal to protect from the weather. Exterior walls are nailed to plywood and also weather-resistant barriers such as house wrap.
Step 6:Window, Door and Insulation Installation
Cut openings for doors and windows and install them properly. Your walls, floors, and ceiling will have to be insulated using foam or fiberglass insulation to keep hiding from the cold winters and hot summers.
Step 7: Electrical and Plumbing Systems
At this stage, electrical wiring should be installed into walls for plug, switch, and light connections. Installation of plumbing pipes for the sinks, showers, and toilets should be done. Other green alternatives in achieving sustainability could be the installation of solar panels and water tanks.

Step 8: Interior Finishing
In it is surely the heart of the whole plan! After one achieves the house structure and all but, as for finishing touches-therefore minimum but to reach the final royal! To the same re-painting the walls one would definitely want to have drywall, wood panelling, and other decorative materials at service; also, there is lots of room for adding good-quality laminate/vinyl to the floor. To maximize on the extraordinary spatial versatility of these tiny houses, fittings and unit-build stool ensemble for any non-regular unclaimed space can help greatly.
Step 9: Kitchen and Bathroom Installation
The installation of kitchen cabinets, countertops, the stove, fridge, and sink requires precise measurements. For a bathroom, the process includes installing the shower, toilet, sink, and redoing the plumbing.

Step 10: Final Touches and Inspection
Make sure you add furniture, knickknacks, and the owner’s personal touch. Do a total inspection of electrical, plumbing, and structural items regarding durability and safety.
For a contractor, building a tiny house is labor-intensive and mired in details, which entirely reward that contractor with a snug and sustainable home. This space, minutely, planned, and executed, is painfully small and gloriously charming, fulfilling all the whims and wants.

I’m interested in building a tiny house to have in my backyard to rent it out to people.
That’s a great idea.